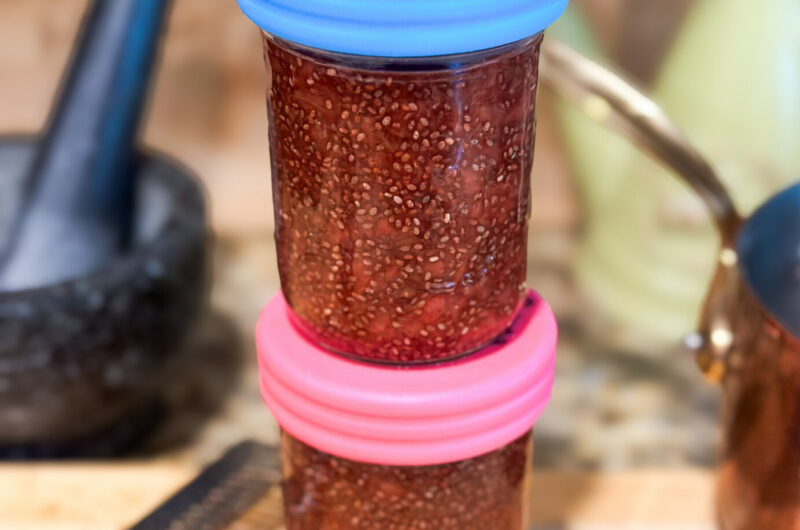
This is the only jelly you need to have in your fridge. I started making this jelly when I was trying to cut out all of the added sugars in my family’s regular diet. With 3 young kids, PB&J is a regular meal. Although, now it’s regularly smeared over cream cheese on toast. This allows the kids to still have their jelly but Im giving them a little more fiber from a meal that I know they will all eat, every time. My inner chef appreciates that the flavor of the strawberries is preserved and only complemented with a few easy adds like lime and a touch of salt. I like to use Himalayan pink salt, but that is just a preference. My toddler really likes to smash the course salt crystals with a mortar and pestle, so I buy the bulk bag from Thrive market for $6-ish…
The Only Jelly
Course: Breakfast, Snacks, LunchCuisine: condiment, spread, jellyDifficulty: Easy20
servings5
minutes30
minutesIngredients
16 ounces frozen organic strawberries
Juice of 1 lime
1 Tablespoon Water
Zest of half a lime
3 Tablespoons Chia Seeds
2 Tablespoons Maple Syrup or Honey *optional
Pinch of salt
Directions
- In a sauce pan with a lid, drop in the frozen strawberries.
- Squeeze the lime juice and pour the water over the strawberries.
- Add lime zest and turn heat onto medium low. Put the lid on the pot for 5 minutes.
- Open the pot and stir the ingredients. if the strawberries are soft enough, mash them with a spatula or potato masher. The smaller, the better. They will break down more as they simmer.
- Stir in maple syrup or honey if you want and add salt.
- Turn the heat off.
- Immediately stir in Chia seeds and stir until they’re evenly distribute throughout.
- Now you can either let your jelly thicken in the pan or you can move the cooled jelly into a glass jar with a lid and put it in the fridge. Allow it to thicken for an 1-3 hours before you use it.
Notes
- This goes on everything in my house. Peanut butter, cream cheese, French toast, regular toast, name it.
- This is the first recipe I teach my kids to make themselves. Mostly because they eat so much of it, but also because it is very simple but uses multiple techniques and steady low heat, so they feel grown up and are excited to know how to do it themselves.
Equipment
This is a very simple recipe, and you don’t need much to pull it off. A few tools can make your life easier, like a good heat resistant spatula for those chia seeds. Any small sauce pan will do, but I always recommend stainless steel or the like. They range in price: this one from Cuisinart is around $20, and this one from All Clad is $120. Both have their uses. Please don’t buy something because it advertises as non-stick. Its an unnecessary sales word, and *sometimes* comes with a chemical coating. (*FUN FACT* If your food is sticking to your pots and pans, the heat is too high. Turn it down and cook things more slowly.) Lastly, a juice reamer is always helpful. I like this style. It is not the cheapest one out there, but I like it. if you have followed my instagram stories through any major American holiday, you have seen the hand juicers that I have unintentionally destroyed over the years. It’s not their fault I’m a hoss. I also use a microplane for zest.


